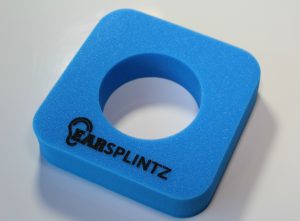
Follow the instructions below and watch this video to make sure your kit is made to perfection so you never have to worry about cauliflower ear.
Cauliflower ear is very uncomfortable and painful but since these are molded to your ears they are the least painful option for compression (they may be painful after draining but for regular use they are pain-free).
Unlike magnets or other clamps that simply press down at varying strengths that do not match the shape of the ear, EarSplintz are custom to your ear and fit like a glove. They are firm enough to prevent fluid build-up but not enough to cause pain. They are more than comfortable enough to sleep with.
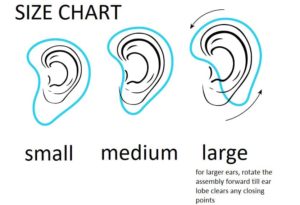
How to mold your EarSplintz
EarSplintz Instructions
1. Test fit EarSplintz TM support assembly against the user’s head behind ear and adjust assembly so that the ear is within any closing points. EarSplintz TM are designed to fit almost any size/shape human ear. If ear protrudes assembly, simply adjust accordingly
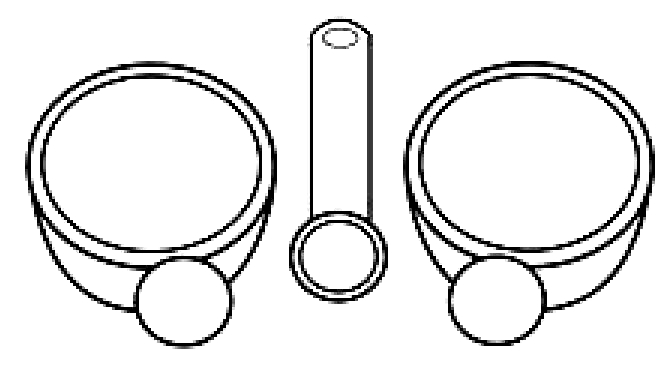
2. Take both jars of impression material and the 1 tsp measuring spoons (included) and measure out (1 tsp) of catalyst & (1 tsp) of Base. Be careful to not contaminate between base & catalyst. Knead the two parts together with clean fingers till uniform color. Once mixed roll into a rope shape approx 3-4 inches long.
NOTE: Set time = 5 minutes once mixed (This is plenty of time, so don’t rush).

3. Layout and press impression material into the inner tray of Earsplintz assembly (see fig #3) Press down around edges so that the impression material is about half the height of the inner tray sidewalls.
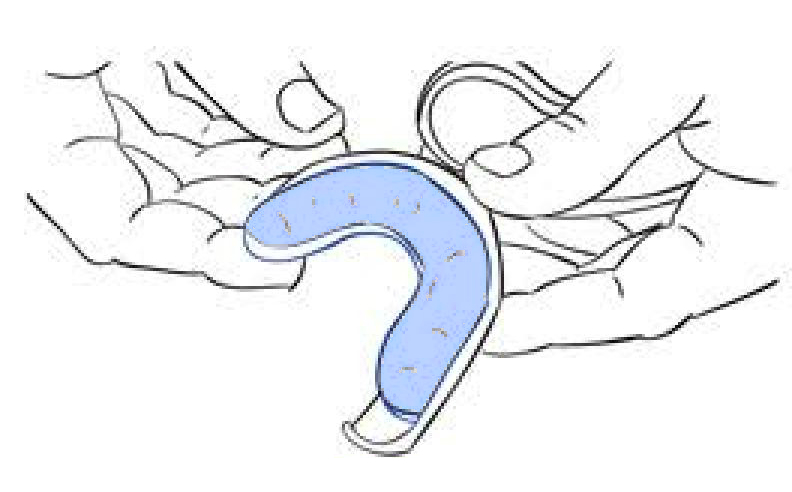
NOTE: Impression material may protrude past the back of the tray
4. Reposition assembly, with impression material, back against users head. While gently pushing forward on assembly, press ear into impression material. Once satisfied, make sure assembly can close then hold in place for approximately 5 minutes for inner impression to set. (See fig #4)
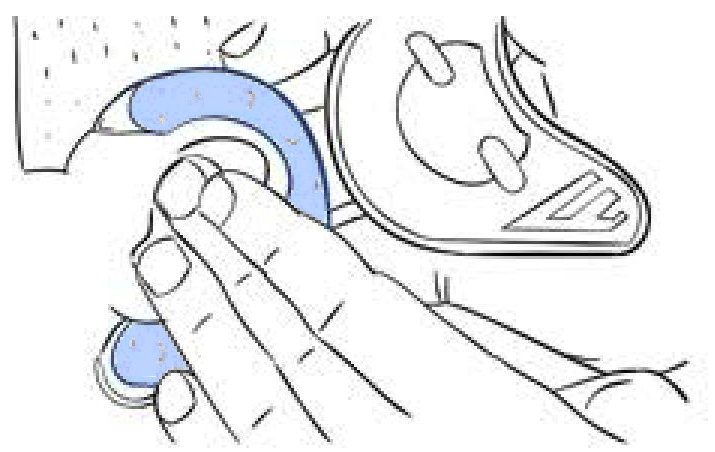
5. To make outer ear impression, measure out 1.5 tsp of base and 1.5 tsp of catalyst. Knead and roll into a ball. With EarSplintz assembly and inner impression in place between user’s head and ear, gently push impression material along those portions of the ear where support is desired such as the outer perimeter of the outwardly facing surfaces.
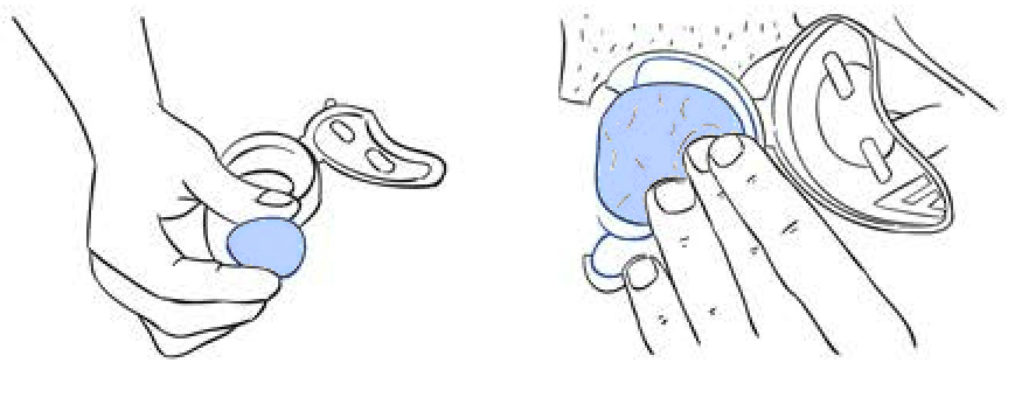
6. While impression material is STILL malleable, close assembly so as to obtain an impression of the ear. Hold firmly in place with hands till set. Set timer for 5mins
7. Open EarSplintz assembly once impression has had time to set. Remove, inspect and replace to ensure proper fit. Use EarSplintz TM headband to hold in place. (See Fig #7)

TIP: Any excess material can be trimmed once set. Make sure assembly is not worn during any trimming.
Warning!
EarSplintz TM AND EarSplintz LLC DO NOT PROMOTE SELF ASPIRATION AND THE PURPOSE OF THIS DEVICE IS TO OFFER PROACTIVE SUPPORT TO DISTRESSED EARS. FLUID ACCUMULATION IN THE EAR CANA CAN INHIBIT HEARING. CLOSELY MONITOR EAR FOR EXCESS REDNESS OR SWELLING DUE TO FLUID ACCUMULATION. SEEK A PHYSICIAN’S CARE IF FLUID ACCUMULATION ACCURES.

